Full Arch
Full-Arch Workflow
From Patient
Evaluation To
Final Restoration
Discover a complete full-arch digital ecosystem for seamless & streamlined workflows.

Patient Treatment
Planning
Planning
CBCT Review &
Case Planning
Case Planning
Surgical Planning
Guided vs.
Freehand
Guided vs.
Freehand
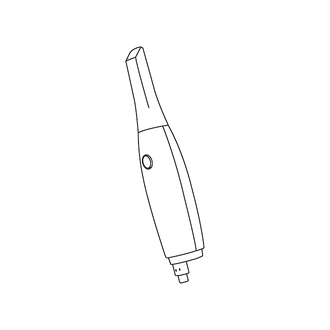
Initial Intraoral
Scan
(Runyes Scanner)
Scan
(Runyes Scanner)
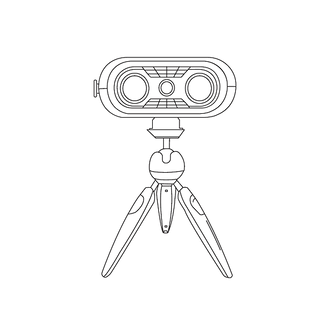
Photogrammetry
Capture
Capture
3D Printing
Prosthesis
Prosthesis
Post-Insertion
Protocol
Protocol
Full-Arch
Digital
Workflow
Solutions
Digital
Workflow
Solutions
 PhotogrammetrySHOP
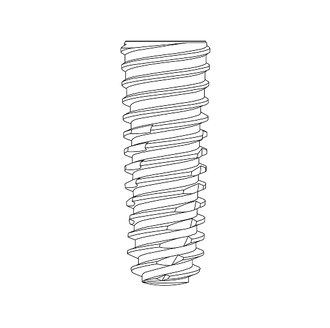 PRIMUS ImplantSHOP
![Creo [Z]](http://creo.shop/cdn/shop/files/creo_z_fixed.png?v=1781971611&width=330) Creo [Z]SHOP
Creo [Z]SHOP
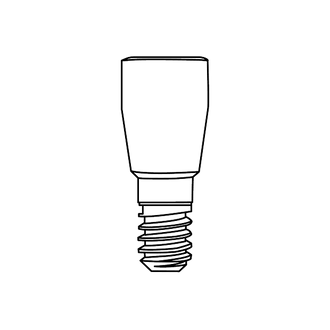
 SOLIDEX i-barSHOP
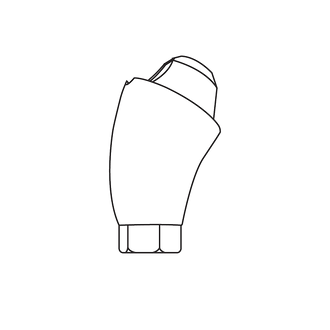 SOLIDEX MUASHOP
 MaxcrewSHOP
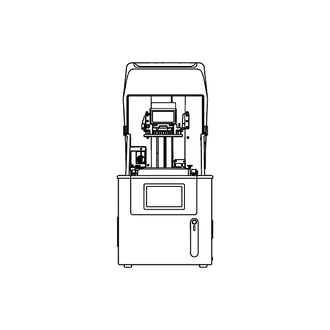 Printing SolutionSHOP
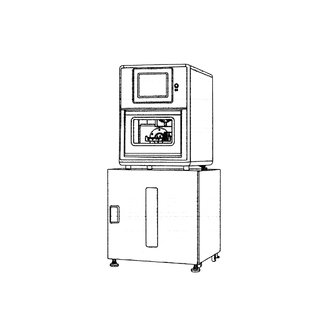 Milling SolutionSHOP
 Intraoral Scan SolutionSHOP
 ExocadSHOP
Patient Treatment Planning
- Initial consultation with diagnostic evaluation
- Clinical photos, panoramic X-ray, intraoral evaluation, & occlusal records
- Determine esthetic & functional needs
CBCT Review & Case Planning
- Acquire CBCT scan to evaluate bone density, volume, and anatomical limitations
- Overlay CBCT with intraoral scan or model scan for prosthetically driven planning
- Identify implant positions, angulation, and need for bone grafting or sinus lift
- Plan using software (e.g. Exoplan, Blue Sky, coDiagnostiX)
Surgical Planning:
Guided vs. Freehand
- Select Inosys Primus Dental Implants based on bone quality and case design
- Surgical creation
- Design surgical guide based on planned implant positions
- Export STL for printing using dental-grade bio-compatible resin
- Freehand Surgery
- Use CBCT and anatomical landmarks for chairside planning
- Clinical marking and pilot drilling based on pre-op evaluation
Surgical Phase
- Perform full-arch extractions (if necessary) and place Inosys Primus Implants (4-6 implants)
- Use Creodent Tandem Screws or temp cylinders for immediate loading
- Ensure multi-unit abutments (MUAs) are torqued properly
Initial Intraoral Scan
(Runyes Scanner)
- After implant placement
- Scan soft tissue and Scan bodies with Runyes intraoral scanner
- Ensure scan includes occlusion arch
- If swelling, delay scan 1-2 days post-op
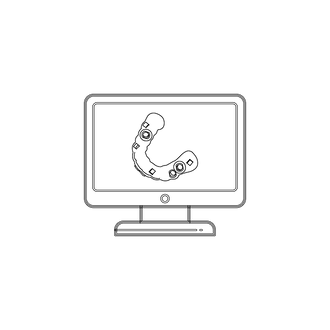
Photogrammetry Capture
- Use Runyes Photogrammetry Camera for precise implant position capture
- Record bodies (Domino System) to digitally map implant locations
- Combine photogrammetry file with tissue scan for master digital model
Digital Design Workflow
- Import scan files into CAD software (e.g. exocad, 3shape)
- Design:
- Full-arch screw-retained provisional or final prosthesis
- Ensure proper VDO and anteroposterior spread
- Confirm esthetics and phonetics
Try-In/Delivery
- Seat prosthesis using Creodent Tandem Screws
- Check fit, passive seating, occlusion, midline, VDO
- Adjust for:
- Torque final screws (typically 15–35 Ncm, dependin on system)
- Take final photos and radiographs
Post-Insertion Protocol
- Educate patient on hygiene and maintenance
- Schedule follow-ups for screw check, occlusal adjustment, and tissue adaptation